Secure Shell (SSH) is a cryptographic network protocol for secure data communication, remote command-line login, remote command execution, and other secure network services between two networked computers. It connects, via a secure channel over an insecure network, a server and a client running SSH server and SSH client programs, respectively. The protocol specification distinguishes between two major versions that are referred to as SSH-1 and SSH-2.The best-known application of the protocol is for access to shell accounts on Unix-like operating systems, but it can also be used in a similar fashion for accounts on Windows. It was designed as a replacement for Telnet and other insecure remote shell protocols such as the Berkeley rsh and rexec protocols, which send information, notably passwords, in plaintext, rendering them susceptible to interception and disclosure using packet analysis.The encryption used by SSH is intended to provide confidentiality and integrity of data over an unsecured network, such as the Internet.You can use your Android phone, remote computer, iPAD or anything to login to a SSH server and execute command as if you’re sitting on that workstation. So let’s see how you can install a SSH server (we will be using openSSH-Server here) on Kali Linux. After this guide you will be able to do the followings:- Install Kali Linux remote SSH – openSSH server
- Enable Kali Linux remote SSH service on boot
- Change Kali default ssh keys to avoid MITM attack
- Set MOTD – Message of the Day message with a nice ASCII
- Troubleshoot and fix “
WARNING: REMOTE HOST IDENTIFICATION HAS CHANGED” error during SSH session. - Change SSH server port for extra safety
Step 1: Install Kali Linux remote SSH – openSSH server
Issue the following command on Kali Linux terminal to install
openssh-server.
root@kali~:# apt-get install openssh-server
Now the next logical step is to enable ssh server (as you can see I’ve issued the following command above).
root@kali~:# service ssh start
It works, but there’s a problem. If you restart your Kali Linux machine, SSH server will be disabled.
So we will ensure that SSH server remains up and running all the time (even after restart). Please note that if you don’t want this to happen, then skip Step 2 and move to Step 3. Why? Because if you enable SSH server on your machine, that means your machine will be available via internet and anyone who knows your password (or your password is just ’123′ or ‘password’ can break into your machine). So use a secured password and if not sure skip to Step 3 for now. Anyway, moving on..
Step 2: Enable Kali Linux remote SSH service
Now we are about to enable SSH service and keep that running the whole time. (changes wont get lost after boot).
First of all remove run levels for SSH.
root@kali~:# update-rc.d -f ssh remove
Next load SSH defaults to run level
root@kali~:# update-rc.d -f ssh defaults
Check if SSH service is up and running
root@kali~:# chkconfig ssh
If you don’t have
chkconfig installed, install via
root@kali~:# apt-get install chkconfig
You can run
chkconfig to see a lot more too:
root@kali~:# chkconfig -l ssh
(or)
root@kali~:# chkconfig -l
Step 3: Change Kali default ssh keys to avoid MITM attack
At this point you will have
openssh-server installed on Kali Linux and enabled at runlevel 2,3,4 and 5. But now we got a problem. Every Linux system that you install via a CD or DVD or similar uses a default SSH key. This is same for all first installation that means, anyone with a similar version can perform a
Man in the Middle Attack (MITM) and listen to your encrypted traffic. To fix that we will do the followings:
Step 3.1: Move the default Kali ssh keys to a new folder:
Issue the following commands one line at a time:
root@kali:~#  cd /etc/ssh/
root@kali:/etc/ssh#  mkdir default_kali_keys
root@kali:/etc/ssh#
root@kali:/etc/ssh#  mv ssh_host_* default_kali_keys/
root@kali:/etc/ssh#
This will move your default keys to the new folder.
Step 3.2: Regenerate the keys
Use the following command to regenerate
SSH keys
root@kali:/etc/ssh#  dpkg-reconfigure openssh-server
Creating SSH2 RSA key; this may take some time ...
Creating SSH2 DSA key; this may take some time ...
Creating SSH2 ECDSA key; this may take some time ...
[ ok ] Restarting OpenBSD Secure Shell server: sshd.
root@kali:/etc/ssh#
Step 3.3: Verify ssh key hashes are different
Use the following commands to verify SSH key hashes are different
root@kali:/etc/ssh#  md5sum ssh_host_*
d5dff2404dd43ee0d9ed967f917fb697  ssh_host_dsa_key
2ec88dc08f24c39077c47106aab1e7f4  ssh_host_dsa_key.pub
ab96da6ffc39267f06e7f9497c4f5755  ssh_host_ecdsa_key
614e36d18dc2c46178d19661db4dbd7b  ssh_host_ecdsa_key.pub
abcc037705e48b3da91a2300d42e6a2b  ssh_host_rsa_key
e26eaa1c5cff38457daef839937fcedd  ssh_host_rsa_key.pub
root@kali:/etc/ssh#
Compare new key hashes to the hashes below)
root@kali:/etc/ssh#  cd default_kali_keys/
root@kali:/etc/ssh#
root@kali:/etc/ssh/default_kali_keys#  md5sum *
9a09f49be320e561dc6cf95463d4378c  ssh_host_dsa_key
1a52709d596569224822e870239c9298  ssh_host_dsa_key.pub
65d0af7fdc5c50f67f90cb953460ba61  ssh_host_ecdsa_key
606d1ac71100c8b38e0f87951bb94855  ssh_host_ecdsa_key.pub
c871ecf961924389f2cddbd5888b5037  ssh_host_rsa_key
99d4c4c68224900d0430f0bee9baf28e  ssh_host_rsa_key.pub
root@kali:/etc/ssh/default_kali_keys#
Restart SSH.
root@kali:/etc/ssh/default_kali_keys# service ssh restart
Step 4: Set MOTD with a nice ASCII
So far, we have installed and configured Kali Linux remote SSH – openssh-server, enabled openssh-server to run on boot, changed Kali default SSH keys to avoid MITM attacks.
Now the usual SSH
MOTD (
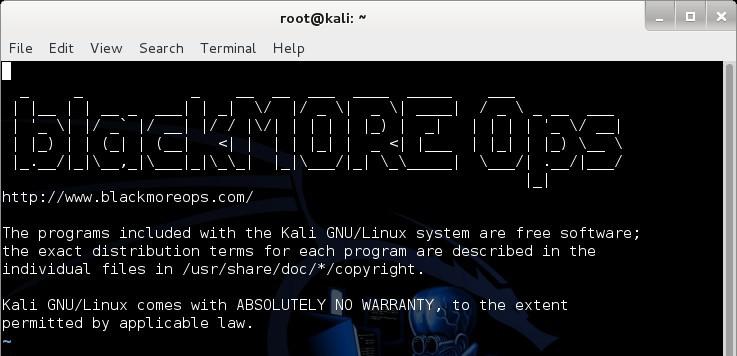
Message of the Day – Banner) is boring. I want my name on that and add some useful info. Following is what a usual
MOTD looks like:
Well, that’s just plain and boring for me.
Go to
http://patorjk.com/software/taag/Type something in “
Type Something” Box! Play around with the settings and you get a nice
ASCII art.

Edit the following file and add your text.
root@kali:~# vi /etc/motd
root@kali:~# service ssh restart
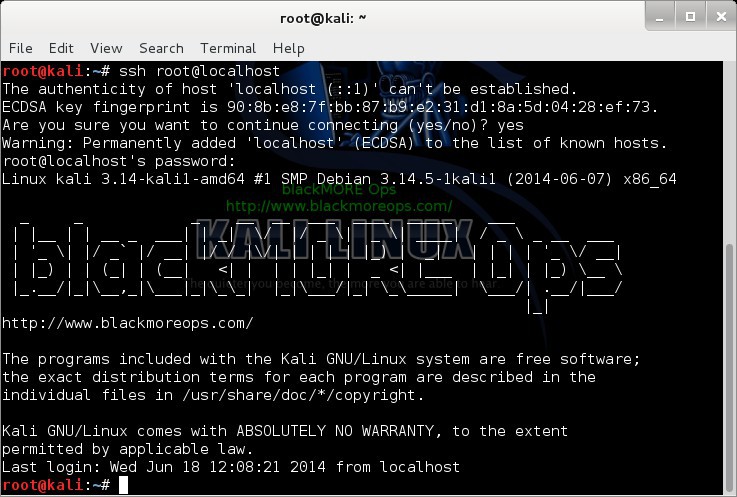
Save the file and restart/reload SSH … both should just work. I’ve added
blackMORE Ops as ASCII and
http://www.blackmoreops.com/ as a second line…

So next time I try to login I get this nice screen with some more info

Pretty cool!
Step 5: Troubleshooting
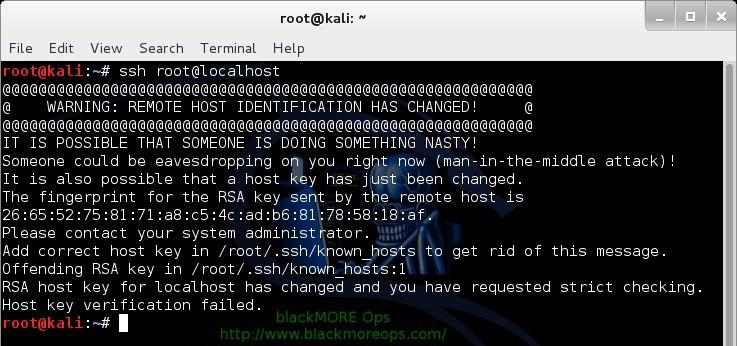
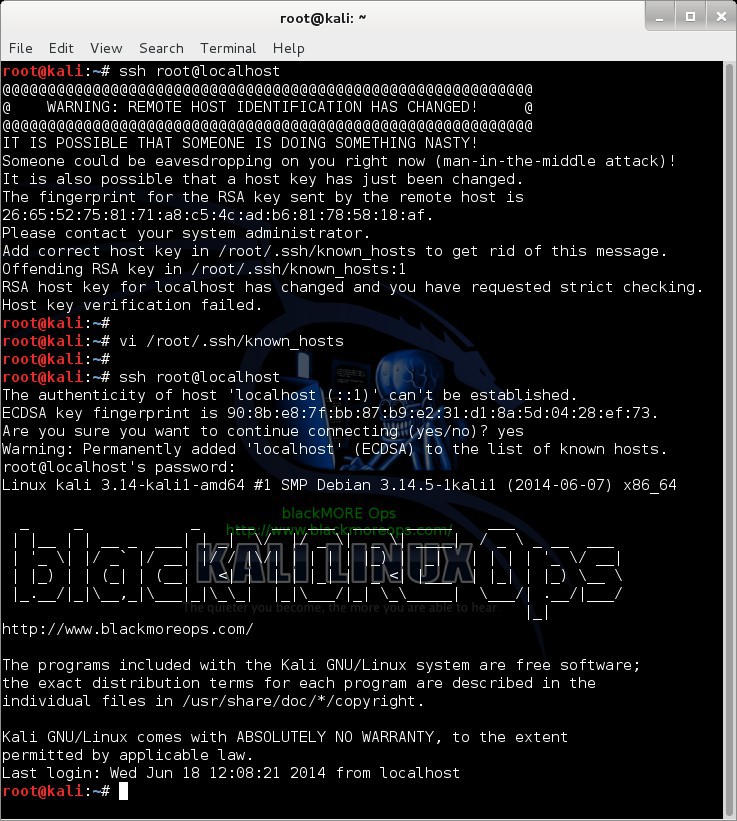
Because I changed SSH keys in the middle of change, (I was logged in before), I had this BIG warning message coming up
 @@@@@@@@@@@@@@@@@@@@@@@@@@@@@@@@@@@
 @ WARNING: REMOTE HOST IDENTIFICATION HAS CHANGED! @
 @@@@@@@@@@@@@@@@@@@@@@@@@@@@@@@@@@@
 IT IS POSSIBLE THAT SOMEONE IS DOING SOMETHING NASTY!
 Someone could be eavesdropping on you right now (man-in-the-middle attack)!
 It is also possible that the RSA host key has just been changed.
 The fingerprint for the RSA key sent by the remote host is
 26:65:52:75:81:71:a8:c5:4c:ad:b6:81:78:58:18:af.
 Please contact your system administrator.
 Add correct host key in /root/.ssh/known_hosts to get rid of this message.
 Offending key in /root/.ssh/known_hosts:1
 RSA host key for localhost has changed and you have requested strict checking.
 Host key verification failed.
It kicked me right out.

Usually this is the sign of something bad. As you can see
MITM attacks does this:
 IT IS POSSIBLE THAT SOMEONE IS DOING SOMETHING NASTY!
 Someone could be eavesdropping on you right now (man-in-the-middle attack)!
This was the reason I changed Kali Linux default key (You wouldn’t even notice
MITM if you’re using the default key).
This is a rather easy fix. You just need to delete the offending line in
known_hosts file.
 Add correct host key in /root/.ssh/known_hosts to get rid of this message.
 Offending key in /root/.ssh/known_hosts:1
Use the following command:
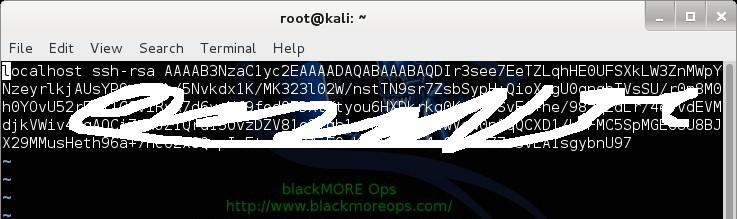
root@kali:~# vi /root/.ssh/known_hosts
Following was the key I had

Just delete the line, save the file and try to SSH again.

and it worked.
As a last step and just to be sure, you should also change SSH
port from
22 to something else. (any port between
10000-64000 is okay)
Make a backup of existing SSH config file.
root@kali:/etc/ssh# cp /etc/ssh/sshd_config /etc/ssh/sshd_config_backup
Edit the
SSH_Config file.
root@kali:/etc/ssh# vi /etc/ssh/sshd_config
Look for the following line:
#Port 22
Change the line so it looks like this:
Port 10101
Restart
OpenSSH server
root@kali:/etc/ssh# service ssh restart
Next time you SSH, you use the following command:
root@kali:~# ssh username@myhostnaname.com -p 10101
Where
- username@myhostnaname.com = Username and Hostname where hostname can be an IP or FQDN.
- -p = Port
- 10101 = Destination Port
Conclusion:
SSH is typically used to log into a remote machine and execute commands, but it also supports tunneling, forwarding TCP ports and X11 connections; it can transfer files using the associated SSH file transfer (SFTP) or secure copy (SCP) protocols. SSH uses the client-server model.
The standard TCP port 22 has been assigned for contacting SSH servers. If you scan for this port using
NMAP, you will see many servers has it open to the world and you can try to bruteforce it and gain access.
An SSH client program is typically used for establishing connections to an SSH daemon accepting remote connections. Both are commonly present on most modern operating systems, including Mac OS X, most distributions of GNU/Linux, OpenBSD, FreeBSD, NetBSD, Solaris and OpenVMS. Notably, Windows is one of the few modern desktop/server OSs that does not include SSH by default. Some common SSH clients includes
- PuTTY
- Cygwin
- WinSCP
and they all provide similar file management (synchronization, copy, remote delete) capability using PuTTY as a back-end.
Both WinSCP and PuTTY are available packaged to run directly off of a USB drive, without requiring installation on the client machine. Setting up a SSH server in Windows typically involves installation (e.g. via installing Cygwin, or by installing a stripped down version of Cygwin with the SSH server.
SSH is important in cloud computing to solve connectivity problems, avoiding the security issues of exposing a cloud-based virtual machine directly on the Internet. An SSH tunnel can provide a secure path over the Internet, through a firewall to a virtual machine.
Source with thanks to blackmoreops.com